
Tomahawk Making Basics
A simple tomahawk can be made in various styles depending on what you are going for. Tomahawks can be used as a tool for chopping, a weapon/hobby for throwing, or as a simple decoration. At hatchetsandaxes.com we have tomahawks for all situations. We are going to talk about how to make a tomahawk for chopping and throwing. This article outlines a making a basic throwing tomahawk. More in depth information on making "hawks" can be provided by your local blacksmith.
Before You Begin
In order to make our simple and durable throwing tomahawk you will need access to a welder of some kind. You will also need the following materials:
- 1/4 inch plate steel
- 3/4 inch heavy gauge metal pipe
- Welding Equipment
- File or grinding wheel
Making your own tomahawk might seem hard but we will give you a step by step process that you can follow to make the task easier. Getting the materials you need for your DIY project is easy as well, just check out the product list for tomahawk heads and tomahawk handles and you’re good to go.
You can make you own basic throwing tomahawk by watching the instructional video above or by following the process indicated below. The tips on this article are provided by our expert tomahawk blacksmiths.
Read the article below and learn how to make a tomahawk.
Tomahawk Making Steps
Step 1: The Tomahawk Head
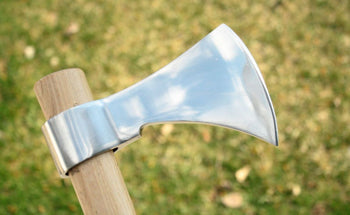
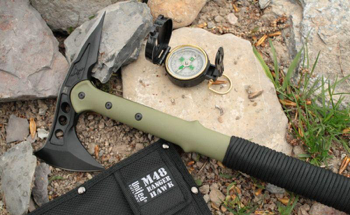
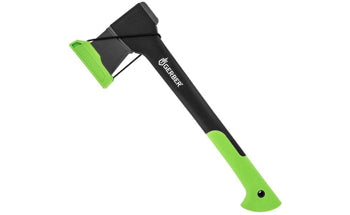
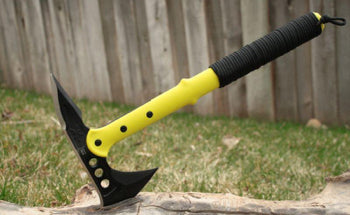
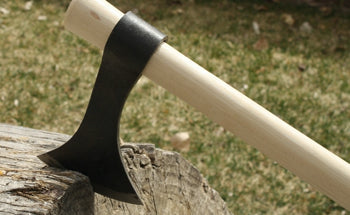
Cut your ¼ inch plate steel in the shape of a tomahawk head. Iron, brass, and copper can also be used. Styles may vary depending on taste but the blade should be slightly round. The longer the surface of the blade the better your chances of make the throw “stick”. You can cut the head to have a sort of “half moon edge” or an even more aggressive “francisca” look to it.
Here are some ideas for your tomahawk blade shape:

|
 |
 |
Step 2: Sharpen the Blade
It is important to have a sharp blade when you are throwing or else you won’t “stick it” as well. The blade should be sharpened to about a 300 edge, beveled on either side.
Step 3: Heavy Gauge (3/4 inch) Metal Pipe or Wood Handle
Cut your metal pipe to the approximate length of your fore-arm (from inside elbow to top of closed hand). Good throwing tomahawks have handles ranging from 16 – 21 inches in length. Remember, you can always cut the hawk shorter if you feel it is too long.
It is also important to mention at this time that the length of your tomahawk affects the speed of the revolution of the tomahawk in the air. The longer the handle the more time it will take to rotate.
Step 4: Welding
Weld the “butt” of the blade that you have cut to the top edge of the handle. The head should be flush with the top of the handle.
Step 5: Remove Burrs
Remove any burrs that were created from cutting the metal. Any burrs left on the handle or head (other than the blade itself) will cause harm to your tomahawk thrower.

Be Safe & Have Fun
Tomahawk throwing can be enjoyed by all. The length of the tomahawk handle and the height of the thrower are what determine your distance to the target. If you are trying for one revolution of the tomahawk before it hits the target then you should be about 5-6 paces from your target. Play around with distance if you find you are not sticking it.
View more throwing axe technique